I’m very excited about this! I have finally taken the plunge and now have (or will have in early November) a remote imaging rig in Southern Spain. It is located at the PixelSkies remote hosting facility near Castilléjar in the province of Granada, Andalucia.
The imaging rig itself was originally built in 2020 and owned by First Light Optics, and it was used to capture images for a monthly image processing competition. I learned from Ian King that it was for sale and I couldn’t resist the opportunity to buy this, already proven, setup. Normally, one has to buy the kit and ship it out to the hosting location, all of which takes time, planning and money.
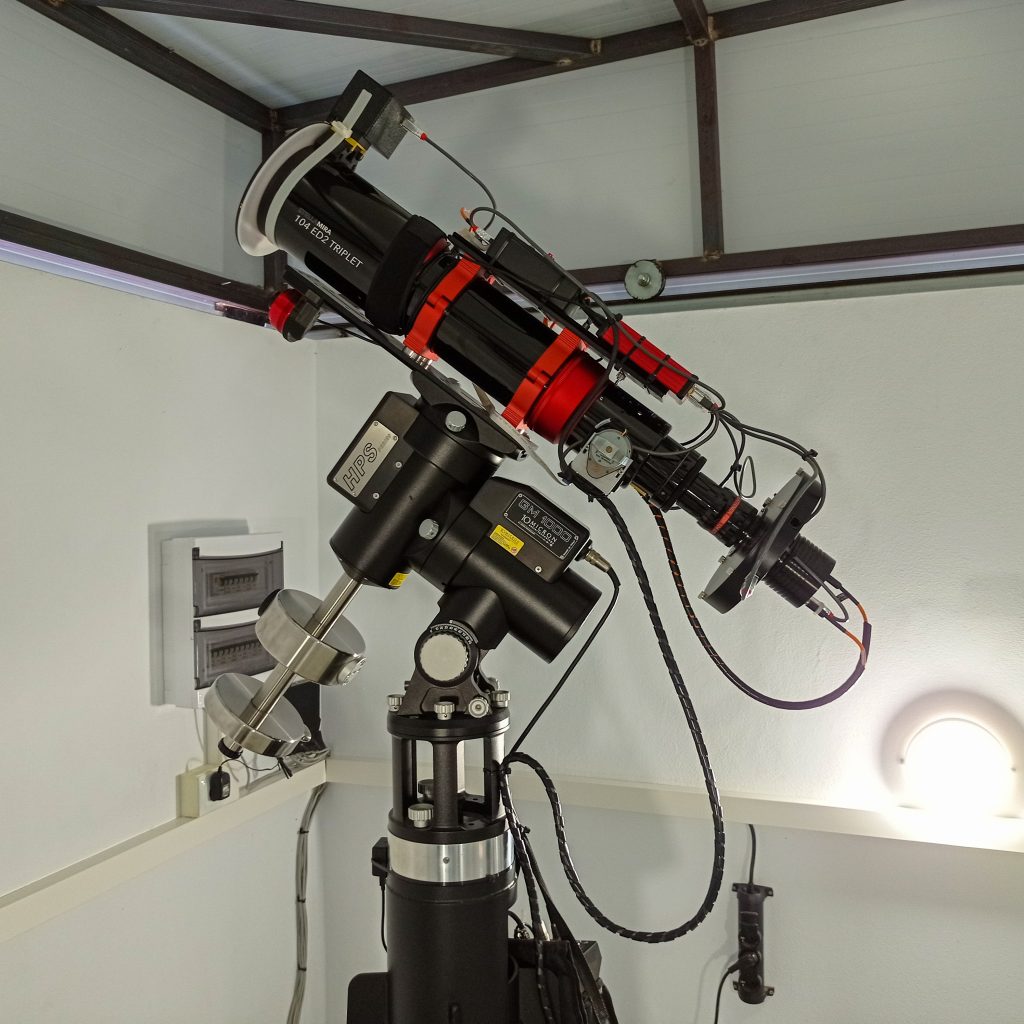
Here’s a picture of the whole system located in one of the roll-off roof sheds. More details and pictures are below.
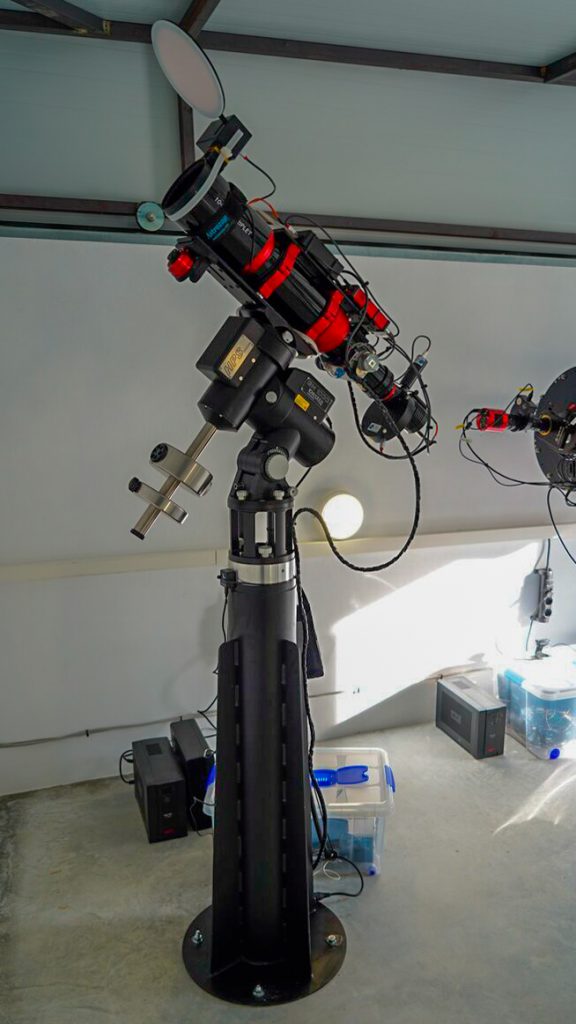
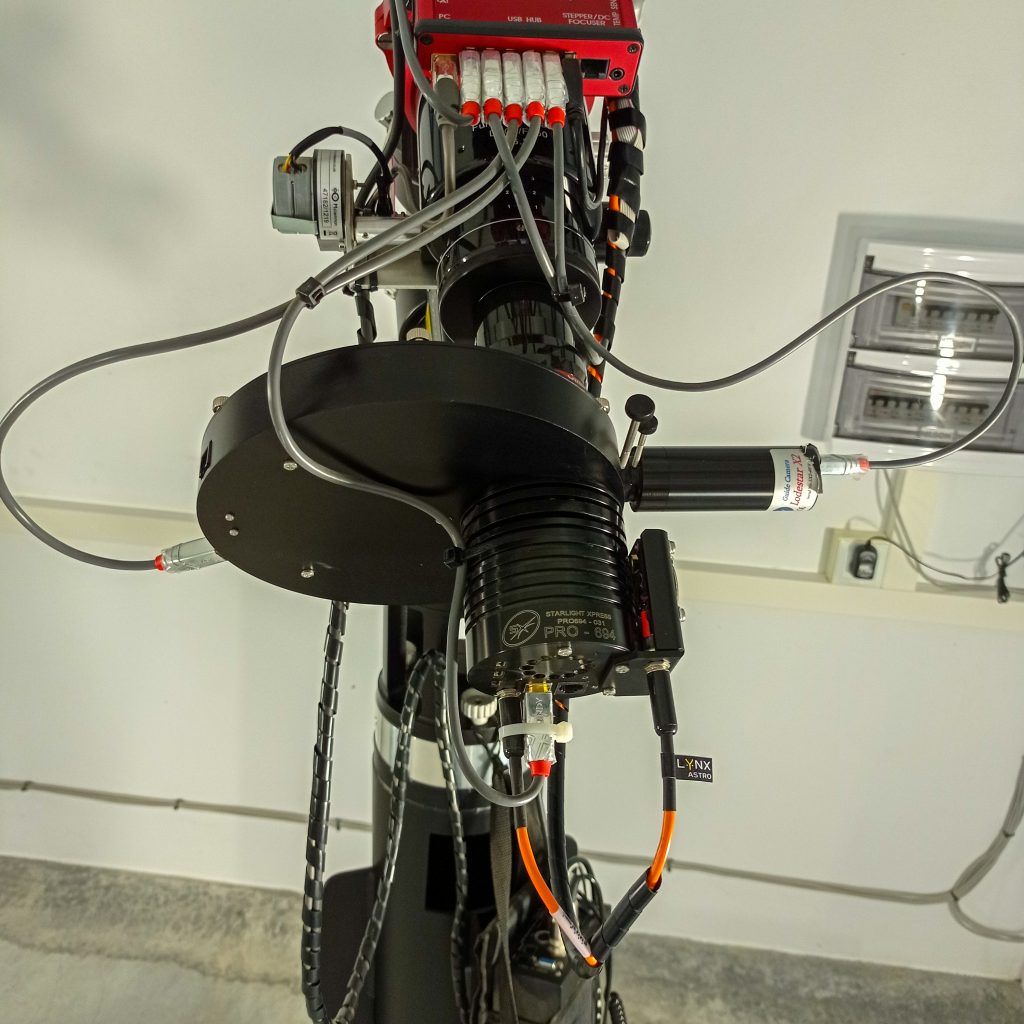
The telescope itself is a StellaMira 104mm ED2 Triplet f/6.25 APO Refractor (with field flattener) and this rides on an amazing 10Micron GM 1000 HPS mount which has absolute encoders. The detector is a Starlight XPress TRIUS PRO 694 mono CCD camera which has 2750×2200 pixels in a medium format Sony chip. The resulting field of view is 66 x 53 arcminutes at a resolution of 1.44 arcseconds per pixel. To give an idea of what this means, the Moon would fit twice across the resulting images. The picture below shows the CCD camera connected to the telescope.
Also visible in the picture above is the 7-position filter wheel containing Optolong 1.25″ filters. The filters are the usual set of LRGB filters and the three 7nm narrowband filters for HA, OIII and SII. Notice also the Off-Axis Guider (OAG) with the Starlight Xpress LoadStar V2 guide camera siticking out to the right of the filter wheel. The pick-off prism for the OAG is in front of the filters so that unfiltered light always hits the CCD sensor of the LoadStar.
The picture below shows the 10Micron mount more clearly and also the Lakeside Astro motorised focuser. It is, of course, vital to be able to accurately focus remotely and the focus point will vary with temperature during the night, and is also different for each filter.
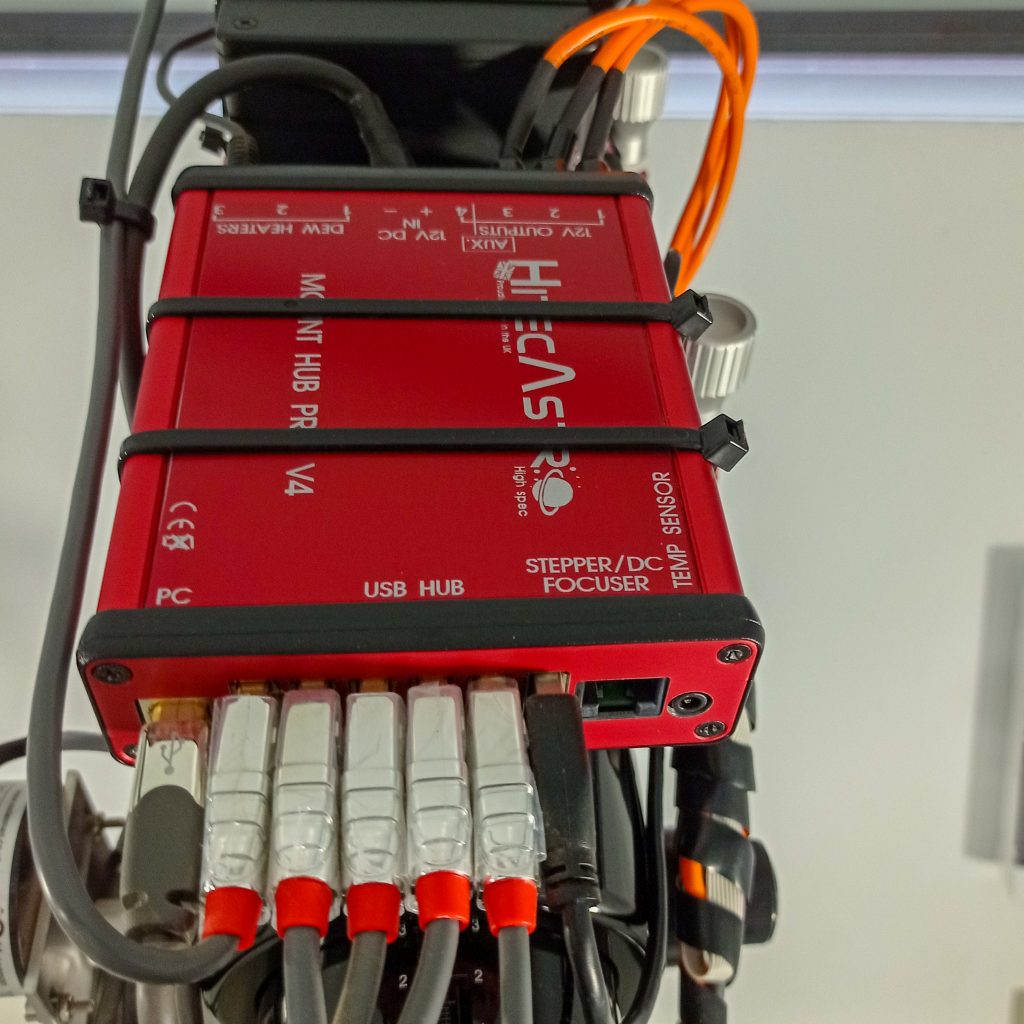
Also shown above is the mounting plate on top of the telescope cradles which has the red Hitec Astro Mount Hub Pro V4 control box. This has a full USB hub along with software controllable power ports and dew heater controller. This hub allows the cabling to be kept shorter and neater. Without a control hub like this, all the cabling would have to travel down to the PC on the floor and would create potential cable snagging issues as the telescope slews around. Here is a close up of the hub:
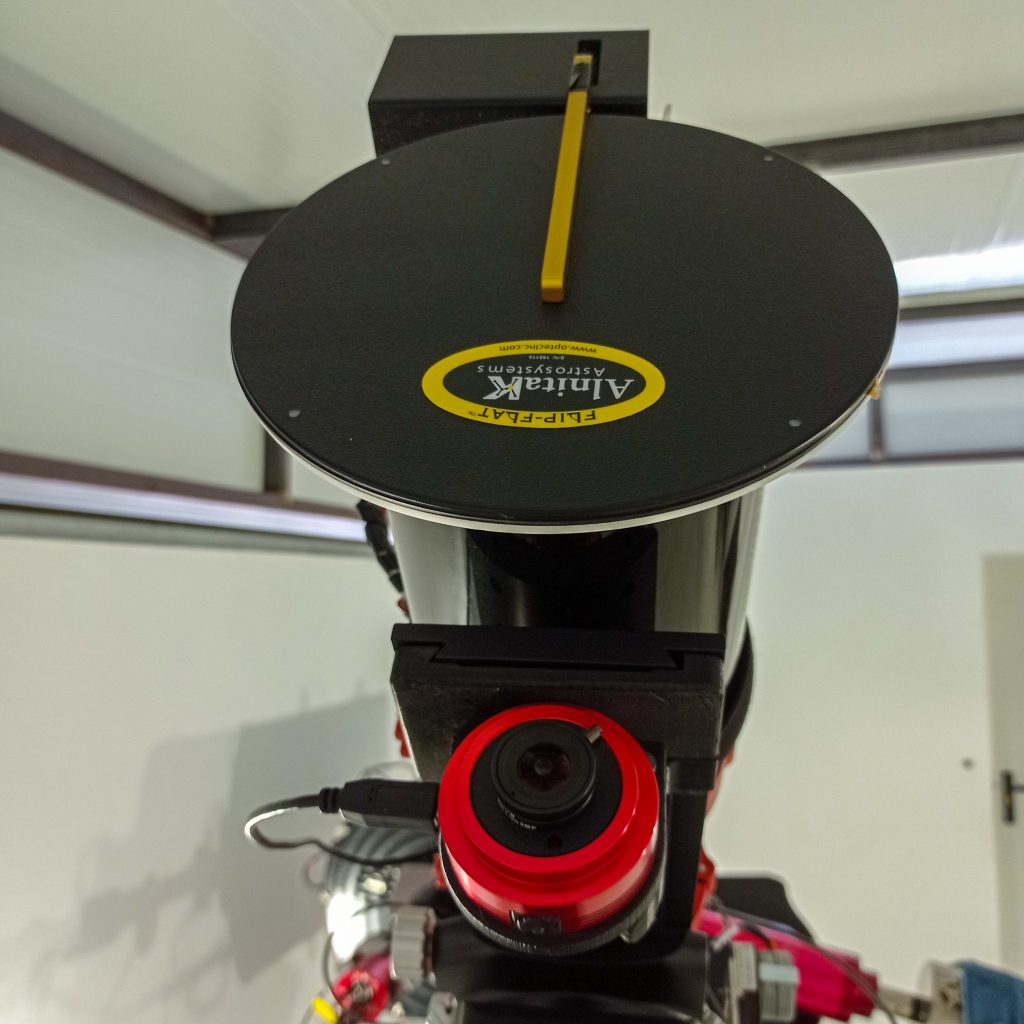
Another fantastic feature of this setup is the built-on flat panel. This Alnitak Flip-Flat will allow me to take my own flat-field images without asking anyone to arrange for a flat panel to be balanced on the telescope. This device can be seen at the front end of the telescope and it also acts as a lid for the telescope to prevent dust getting on to the objective lens. The opening and closing of the panel is software controlled as is the brightness of the flat panel. During cloudy nights I can also take bias and dark frames when the panel is in the closed position, but turned off. See the picture below which also shows the wide angle video camera (the red device below the flip-flat). This sensitive camera provides a wide view of the sky, useful for spotting clouds or generally admiring the constellations and the Milky Way.
Mounted on the mount pillar is a small Astromi.ch MBox device. This is a small, self-contained weather sensing device that delivers barometric pressure, temperature, humidity and dew point information with high accuracy. There are other bits and pieces (including the main Windows 10 control PC), but I have described the main components.
In due course I’ll share more information about how I get on with this fantastic system, and hopefully, lots of great images from this dark-sky site.
Finally, watch this video to see the system being assembled a year or so ago.
